I was asked at the end of last year about making modern strip lighting, the type with a fluorescent tube with a cover which are found in all kinds of modern businesses from offices to dentists surgeries. I mention dentists surgeries because thats what the lady (who wishes to remain anonymous) was making. A 1/12th (Inch) scale room box dentists surgery. Since then I've also provided the same lighting for a 1/12th scale shed/workshop.
The easiest and cheapest way to create strip lighting is to use flexible strip LEDs and use vellum to create the cover. Vellum is a type of heavy paper, a bit like tracing paper, which comes in lots of colours and patterns and is used mainly for card making and scrap booking but is ideal to use with LEDs because the plain vellum is semi-opaque and as well as looking like a strip light cover, it also acts as a diffuser.
First off here's what it will look like! Yes, this is a model and not the real thing!
 |
| Strip Lights in a 1/12th scale Dentists Surgery |
 |
| Strip Lights in a 1/12th scale Dentists Surgery |
Step 1: Choose the size of flexible LED strip you wish to use and also the colour. For the tutorial I have used a 3 LED white strip but the photos above show a 6 LED strip in warm white.
Pre-wired LED strips can be bought in my shop if you have your own vellum but I now also have a strip light kit available with vellum included. If you would like the 9v version you will need a battery snap.
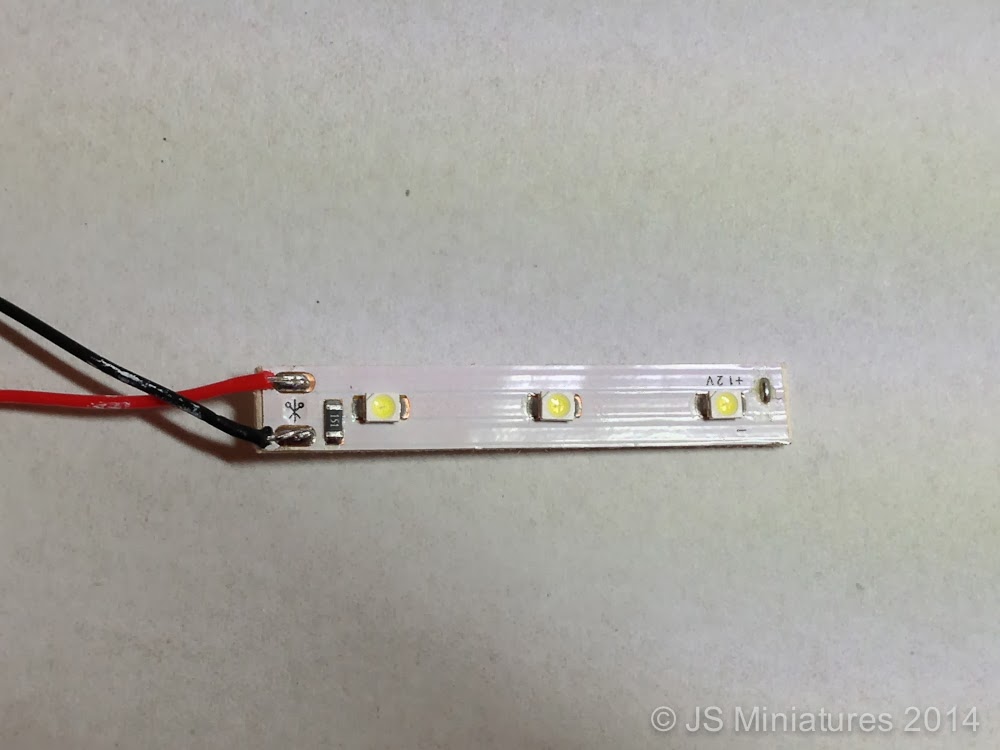 |
| Pre-wired flexible LED strip |
Step 2: Cut a piece of thick card or mountboard 2mm longer than your LED strip. For the 3 LED strip this would be 52mm long x 8mm wide. (The strips are all 8mm wide).
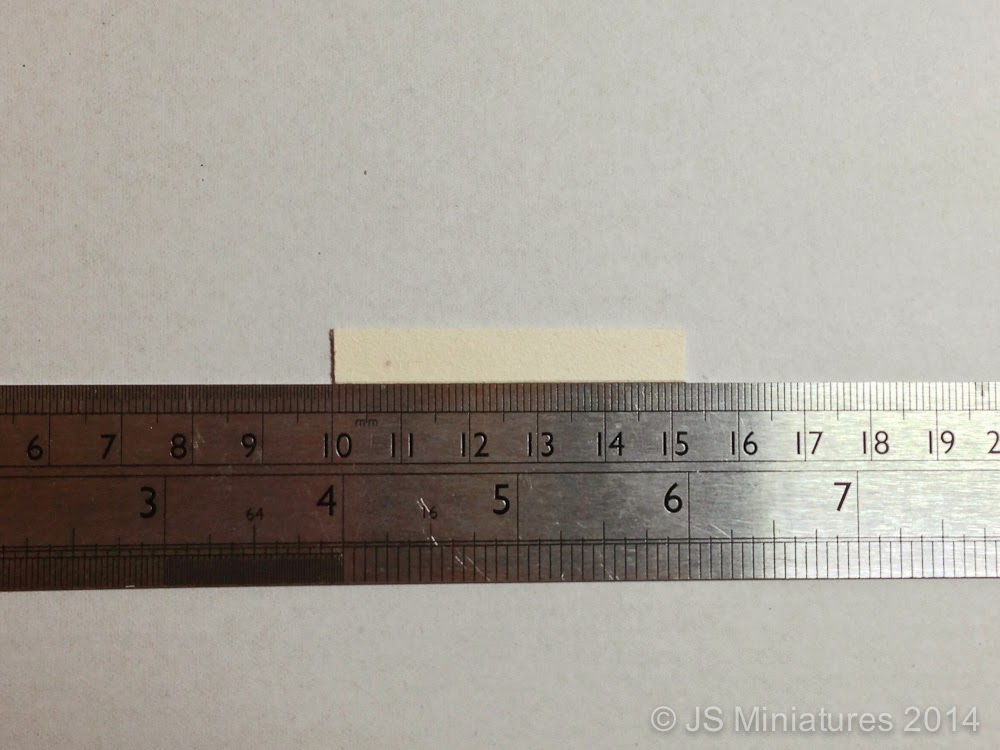 |
| Mountboard or card strip |
Step 3: Peel off the cover from the back of the LED strip to reveal the double sided tape and stick the LED strip onto your piece of card or mountboard.
 |
| LED strip stuck onto mountboard |
Step 4: Mark out a rectangular box on your piece of vellum following the design of the template below. You want the box to be 8mm wide and 8mm high. The further away the vellum is from the strip the less the LEDs look like "spots".
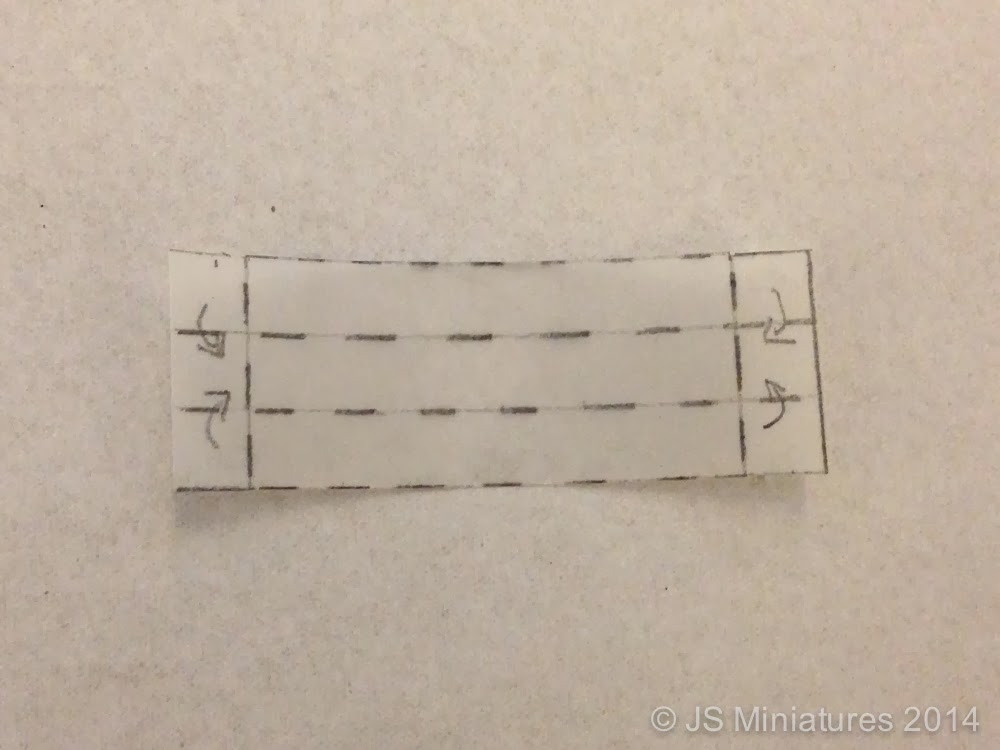 |
| Vellum template |
Following the template above mark out your 3 strips 8mm wide. Mark 8mm in from the end, then 52mm long (or length of LED strip) and then another 8mm for the other end.
Score along the lines with a pair of scissors being careful not to score too deep as the vellum will tear easily if scored deeply. Snip the two ends from the outer edge into the fold line so they can be folded in to form the box end like so:
 |
| Vellum template ready for folding |
It should then look like this:
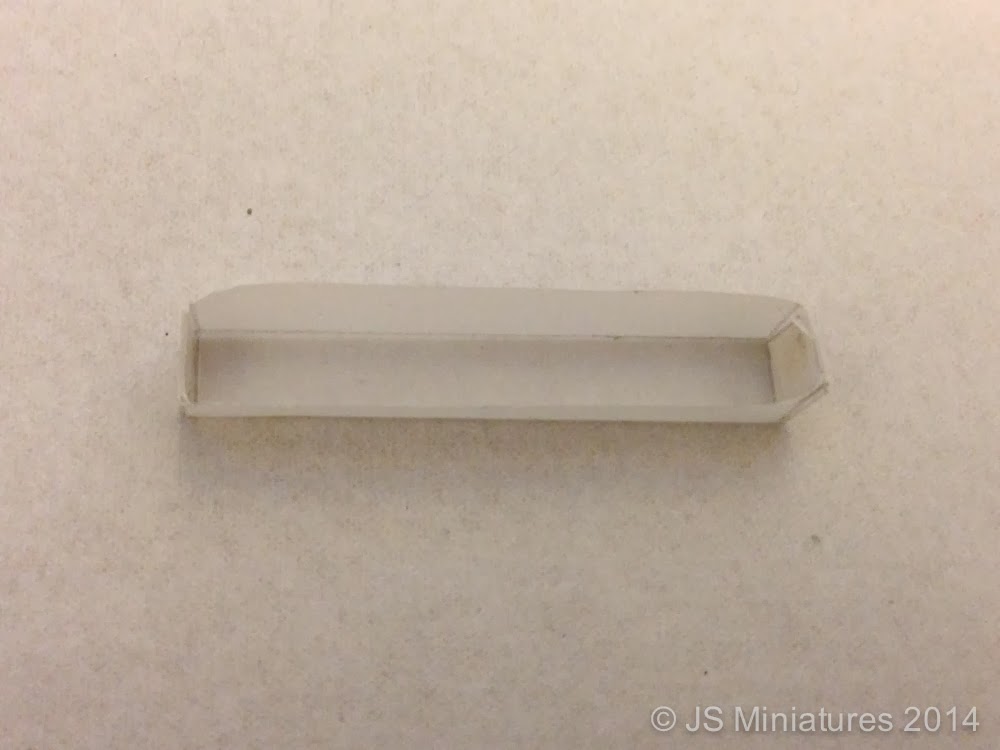 |
| Vellum box diffuser for strip light |
The ends are stuck with small squares of double sided tape. Fold the two outer pieces in and then the middle piece over the top so it is on the outside.
Step 5: Decide where you want to place your lights and drill a 4-4.5mm hole in your ceiling. Just enough for the wires to fit through. Feed the wires through the hole and stick the LED strip in place with double sided tape or glue. Keep the strip as close to the hole as possible (see photo in step 6).
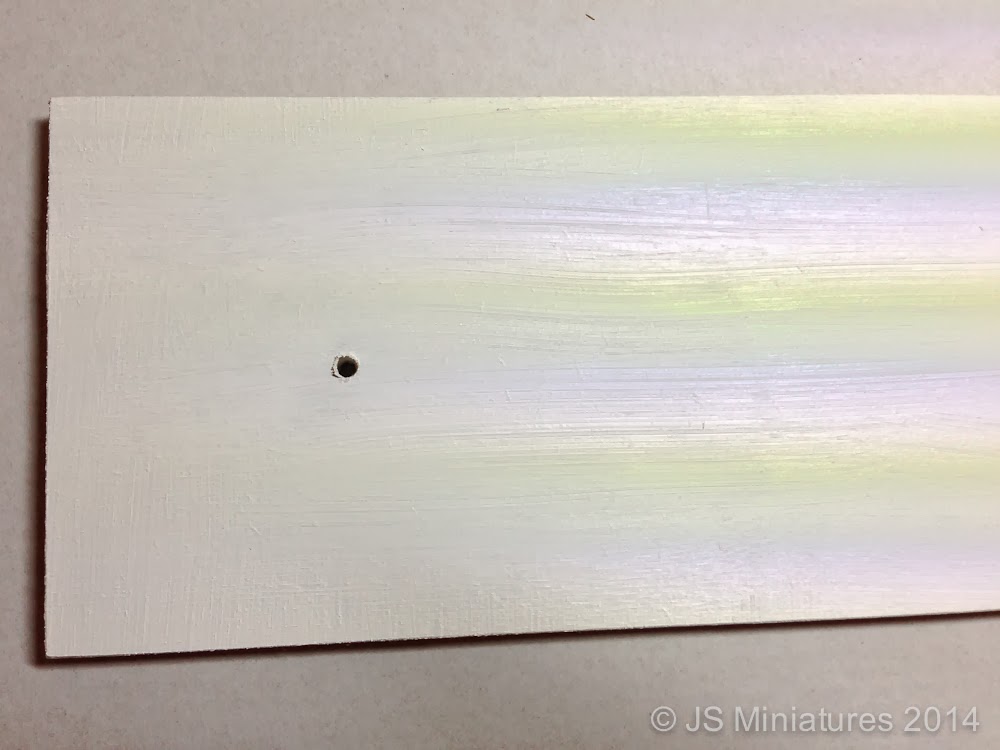 |
| Hole in ceiling for wires |
Step 6: (Optional) If you wish you can cut an additional strip of vellum 8mm wide by the length of the LED strip and stick it on with small pieces of double sided tape to make an additional diffuser.
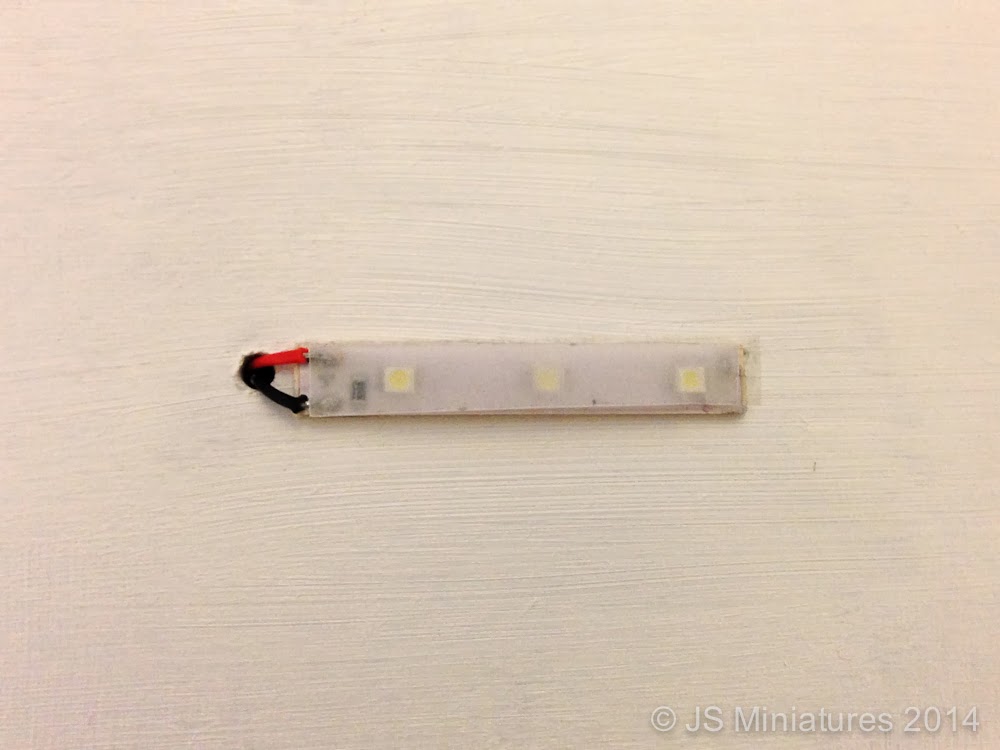 |
| LED strip fixed in position |
Step 7: Fit the box over the LED strip. It will be a snug fit but to fix in in place run some glue along the edge of the card / mountboard base and hold until stuck. Use sparingly. UHU or similar clear glue is best as most glues will show through vellum. You may want to test your glue on a bit of scrap first.
NB: You will probably need to snip away a bit of the box end for the wires to fit if you are not fitting a false ceiling.
 |
| Vellum cover fixed in place over LED strip |
Step 8: Test out your lights! Connect to a 12v regulated transformer or you can also use a 9v battery (the LEDs will be a bit dimmer).
 |
| Modern strip light |
Final touches: The wires as they enter the hole can be painted to match your ceiling. Any matt emulsion or acrylic craft paint will do.
The wires can be hidden in a groove in the floor above and then taped over with masking tape ready for your flooring of choice.
The other option is to fit a false ceiling. This could be a piece of mountboard, foam board or thin wood with a slot cut out for the strip light so the wiring is hidden underneath. It is best to fit a false ceiling before fitting the vellum box over the top.
The you can sit back and enjoy your lights!
.jpg) |
| Strip lights in model dentists surgery |
I hope you have enjoyed this tutorial. If you have any questions I'm happy to help.
My thanks to M from Stornoway for providing the photos of her lights in her dentists surgery.
Best wishes,
Jennifer,
How to connect the strips to a transformer or 9v battery:
It is common for more than one
strip to be used in a room so there are a few options:
a) If you are using copper tape
the strips would be soldered on directly.
b) You can chose to have the
strips wired with standard dolls house white wire which could then be wired
into a standard dolls house plug and socket strip. You would need one plug per
LED strip in this case and please check with me to make sure your transformer
won’t exceed it’s capacity (eg a 6 LED strip is 0.04amps).
c) If the transformer comes with
a 2.1 mm socket, I sell connectors that plug into the transformer directly but
have a connector block on the other end so you can wire in multiple lights to
the same transformer without needing a socket strip. To purchase connectors click the link: connectors
d) If you wish to use a 9v battery
you will need a battery snap. You can
also choose to have an mini on/off switch with your battery snap. To purchase battery snaps click the link: Battery snaps
I recommend using no more than 2
LED strips per 9v battery to prevent it running out too fast. LEDs will be
slightly dimmer with this option.
Hope that helps.
This tutorial is for personal use only and must not be made for sale or commercial purposes.
All text and photos copyright of JS Miniatures.

is there a plug on the end of the wire? or how does it connect the the transformer?
ReplyDeleteThese don't have a plug because the wires are too big for a socket strip plug. It is common for more than 1 strip to be used in a room so there are a few options:
Deletea) A connector block will be included with the kit and then you could use some standard dolls house wire to connect to a plug and a socket strip. I can provide wire and a plug if required.
b) I am planning to add an option for wiring them with dolls house twin core wire which could then be wired into a standard dolls house plug and socket strip more easily but you would need 1 plug per LED strip in this case.
c) If you are using copper tape these would be soldered in directly.
d) If the transformer comes with a 2.1mm socket I sell connectors that plug into the transformer directly but have a connector block on the other end so you can wire in multiple lights to the same transformer without needing a socket strip.
Hope that helps. I will add this to the blog post for clarity.
Jennifer,